


This one's for YOU, Melanie!!!!!
Last week I mentioned picking up a hutch that a friend made for me. It took MUCH longer than I thought it would to prime, paint, and put polyurethane on it. However... IT'S DONE!!!! ... well, minus having knobs on the doors. The knobs I bought at Hobby Lobby were too big and I haven't made it back up there yet. But anyway... here are a few pictures of it sitting nicely in it's new home....
 |
| Before Priming |
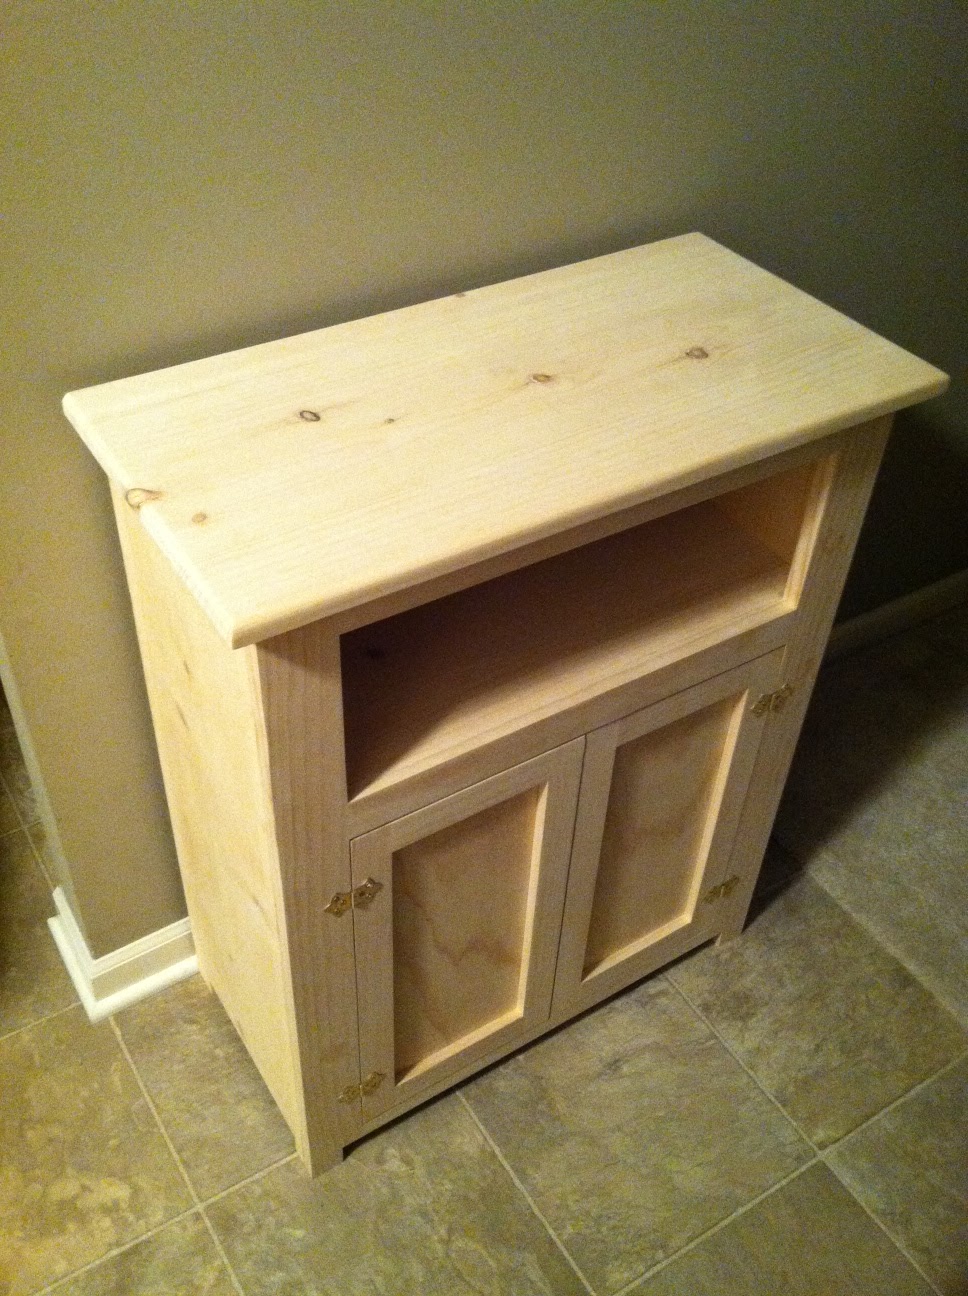
 |
| AFTER! Dimentions are 32" high, 24" wide, and 12" deep Paint colors are Sherwin-Williams Grizzle Grey and Raindrop |
 |
| I'm waiting on a picture of my sister-in-law and I for the frame. :) |


I LOVE the way it turned out. It won't always sit partially on the carpet, however, until Christmas is over, that's where it will be.
Now, on to my favorite recent DIY....
Last week, my parents came over to help me decorate for Christmas {I do not enjoy doing it by myself} and I mentioned in our next house I would like to have lights above my cabinets. My dad, being the smart engineer type that he is, said it would be easy to do now. FABULOUS!!
We discussed the needed materials and off I went to Menards.
The next evening my Dad came back to help drill the hole {I wasn't up for the task of splitting my cabinets by myself}.
For starters you will need one of these. I picked this up the week before at Menards for $9.99. It comes with three wireless outlet adaptors, the remote, and a battery. My only complaint is the thickness of the outlet adaptor. It sticks out from the wall probably two inches... then when you plug something into it, it sticks out even more {this the reason my hutch is sitting partially on the carpet}. I swear a man invented these... if a women had, the outlet on the adaptor would be in the bottom to prevent it from sticking out farther from the wall. Men.

We {read: my dad} drilled a hole in the top of my cabinets right behind the area where the doors meet so you don't see it. This is the cabinet right above my microwave. There is already an outlet in there for the microwave to plug in to. The plug comes off of the lights, so we only needed a hole about the size of a nickel.

We reattached the plug to the lights, plugged it in, and voilà!! Lights above the cabinets!!

What kind of lights did I use, you ask???
Good old rope lights. I got these {30 feet worth} at Menards for $14.99. That was my only investment in this project. I'm happy with the way it turned out. I wish I could have lights on top of the cabinets on the other side of my kitchen, but there isn't an outlet over there. I don't have as many cabinets over there anyway, so it's alright.

BEFORE:

AFTER:

The wireless adapter and remote work PERFECTLY for turning the lights off and on without having to get up in the cabinet.
So there you have it. My super easy, cheap, DIY project. The lights are great for nights when we come home late {read: being out with friends}. They don't get hot and provide just enough light so it's not pitch black when walking into the house.
You are way too crafty and handy. I call screw drivers dashes and stars haha it looks FAB!
ReplyDeleteOMG I love this so much! Im totally going to do the lights in my kitchen thanks for the idea!
ReplyDeleteLove the rope lights - so do you have an outlet in our cabinets? Or does your cord come down right below them? Love that look. I want them SOOOOOOOO bad.
ReplyDelete